Feature
Last updated
Bigger and sharper, same room
AI Room Styler can upscale a finished room render. Pick the version you settled on and get a larger, sharper image for print that aims to keep its composition and design.
The finishing step. Take the version you have settled on and make it large enough to print while preserving its composition and overall design.
Sharpen and enlargeFirst 3 designs free with Google · No credit card
From $9.99 for 20 designs · No subscription
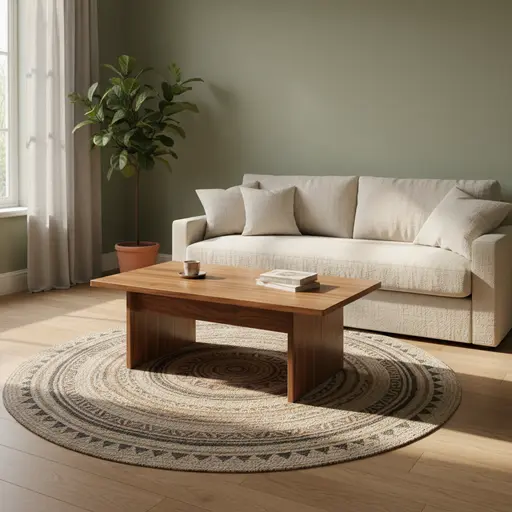
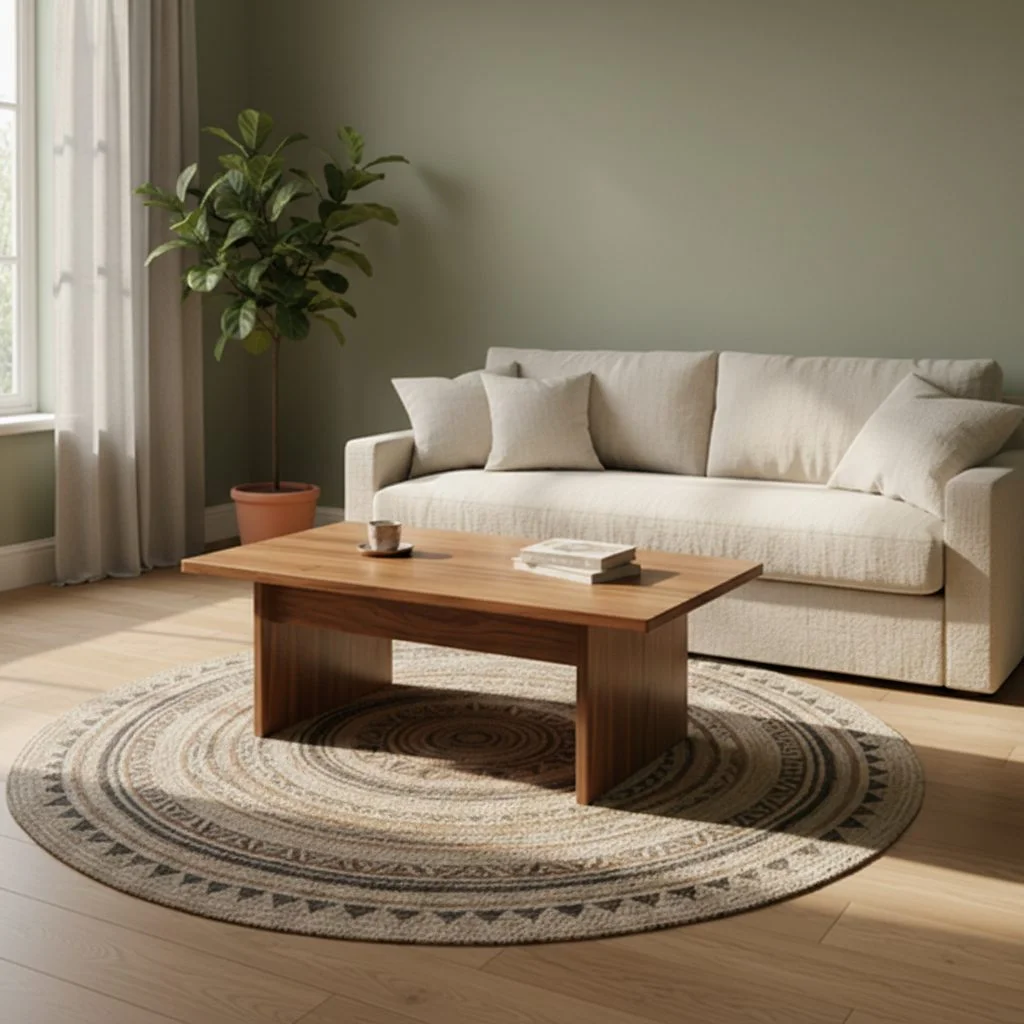
Same composition
the overall design is preserved
Larger file
from a dedicated upscaler
Print ready
for brochures and listing portals
This is the only feature with no opinion about your room. It does not intentionally restyle, furnish, clear, or relight anything. It takes an image you have already decided on and produces a larger, sharper version with the same composition and overall design. Fine texture is reconstructed rather than recovered, so small meaningful details such as text may differ. Use it once the design decisions are made and the file has to meet a demanding output size.
What this feature does
- Input
- A finished render or photograph that needs a larger output.
- What changes
- Resolution, sharpness, and reconstructed fine texture.
- What stays
- Composition, object placement, colors, lighting, and the overall design.
- Use another feature when
- Fix design errors first. Upscaling makes existing faults larger and may synthesize small details.
What upscaling actually does
Enlarging an image means inventing pixels that were never captured, and the interesting question is how they are invented. Traditional interpolation averages between neighbouring pixels, which is why an image scaled up in older software goes soft: the new pixels are compromises between their neighbours and contain no information. A model-based upscale instead predicts what detail plausibly belonged there, based on having seen an enormous number of similar surfaces, so a wood grain becomes wood grain rather than a smooth gradient.
This is reconstruction rather than recovery, and the distinction matters. The detail is plausible, not true. Enlarging a photograph of a bookshelf will produce convincing book spines, and the text on them will not be the text that was there. For interiors this is almost always fine, because the properties that matter in a room image are materials, light, and form rather than fine text. It is worth knowing before you enlarge anything where the small detail carries meaning.
The practical ceiling is set by the input. A reasonably sharp image enlarges very well. A heavily compressed, motion-blurred, or extremely small image gives the model little signal to extrapolate from, and the result is a larger version of a poor photograph rather than a good one. Start from the biggest, cleanest copy of the image you have rather than a screenshot of it.
When to run it, and when not to bother
Run it last, once the design is settled. This is the single most common piece of wasted spend in a multi-step workflow: someone upscales a promising render, then restyles it again, and the restyle produces a fresh image at standard resolution which needs upscaling all over again. The credit spent on the intermediate version bought nothing.
It is worth running when the destination has a resolution requirement. Listing portals commonly impose minimums, print work needs considerably more pixels per inch than a screen, and a presentation on a large display exposes softness that a laptop hides. In all of these the alternative is submitting something that looks unprofessional, so the credit is cheap insurance.
It is not worth running for a screen. An image destined for a website, a social post, or an email is already being displayed smaller than it was generated, and enlarging it first achieves nothing except a bigger file. If the output at standard resolution looks right where it is going to be seen, you are finished.
What it will not fix
Sharpness and size are not the same as quality, and enlarging an image faithfully enlarges its faults. A render with warped furniture, a visible edit seam, or drifted room geometry comes back with all of those larger and clearer than before. The order of operations matters: fix the problem with the appropriate edit first, then enlarge the corrected version.
It also will not change any design decision. That is by design and worth stating plainly, because people occasionally hope a sharper version will look better in ways that are really about the styling. If the room is wrong, upscaling produces a crisper picture of a room that is wrong. Restyle it or edit the offending detail, then come back to this step.
Finally, it cannot recover information that was never in the frame. Cropping into a small region and enlarging that gives you an interpretation of a few pixels, not a hidden detail brought into view. Interiors work well because materials and light extrapolate convincingly, but the constraint is real: the model is filling in plausibly, not retrieving something that was recorded and forgotten.
How large is large enough
It helps to know what print asks for. Print quality is conventionally 300 pixels per inch, so a picture printed twelve inches across needs about 3,600 pixels on its long edge. Check the enlarged file against the size you plan to print: anything printed smaller than the file covers at 300 pixels per inch has pixels to spare.
Screens ask for far less. Listing portals typically want somewhere between a thousand and two thousand pixels on the long edge, and images destined for a website, an email, or a social post are displayed smaller still. A standard render is sized for screens, enough for the web and for portals at the low end of that range, which is why upscaling for the web achieves nothing except a heavier file. A portal that asks for more is a reason to run Sharpen & enlarge. Large displays are the exception worth checking, because a presentation projected at scale exposes softness that a laptop screen hides completely.
The other case for running it is that viewing distance forgives resolution. Exhibition boards, window cards, and anything read from a few feet away tolerate half the pixels per inch that a brochure held at arm's length demands, which is why a single enlarged file usually covers a whole set of outputs. Work out the largest thing the image has to appear on, size for that, and stop. There is nothing to gain from enlarging past the destination.
Try it yourself. First 3 designs free with Google · No credit card
Sharpen and enlargeWhy sharpen and enlarge a render works
A finishing step, not a design step
Every other feature changes the room deliberately. This one aims to preserve the composition, object placement, colours, and overall design while reconstructing fine detail at a larger size.
Meet a portal's minimum
Listing sites and print specs impose resolution floors that phone crops and older photos routinely fail.
Rescue an old photograph
A small, soft image of a room from years ago can be brought up to a usable size without reshooting the property.
Print without softness
An image that looks fine on a phone can fall apart across a brochure spread. Enlarging first avoids the discovery at the printer.
Run it last
Upscaling early wastes the credit, since any subsequent restyle or edit produces a new image that needs it again.
No watermark
Full-resolution downloads with nothing stamped across them, on three free designs as well as paid packs.
How it works
- 1
Settle the design first
Finish restyling and editing. This step is worth spending only on the image you are actually keeping.
- 2
Upload the image
A render you generated, or an existing photo that is too small for what you need it for.
- 3
Download at full size
Get a larger version ready for print or a listing portal.
Related tools
Go deeper
Frequently asked questions
Ready to try it on a real room?
Sharpen and enlarge