Feature
Last updated
Change one object in a room photo
AI Room Styler can change a single object in a room image. Mark what is wrong, describe the replacement, and keep the rest of the render you already liked.
When a render is right apart from one chair, regenerating the room is the wrong answer. Change the chair.
Edit a detailFirst 3 designs free with Google · No credit card
From $9.99 for 20 designs · No subscription
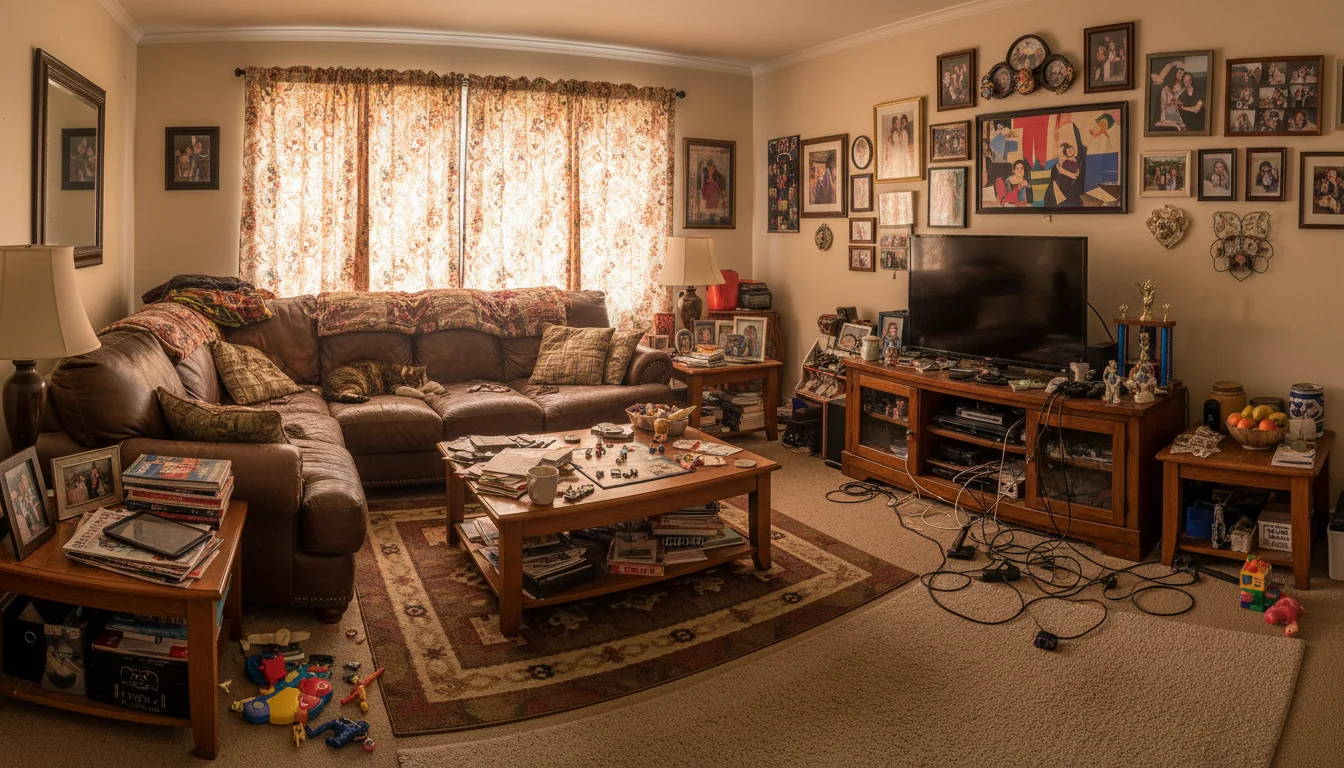
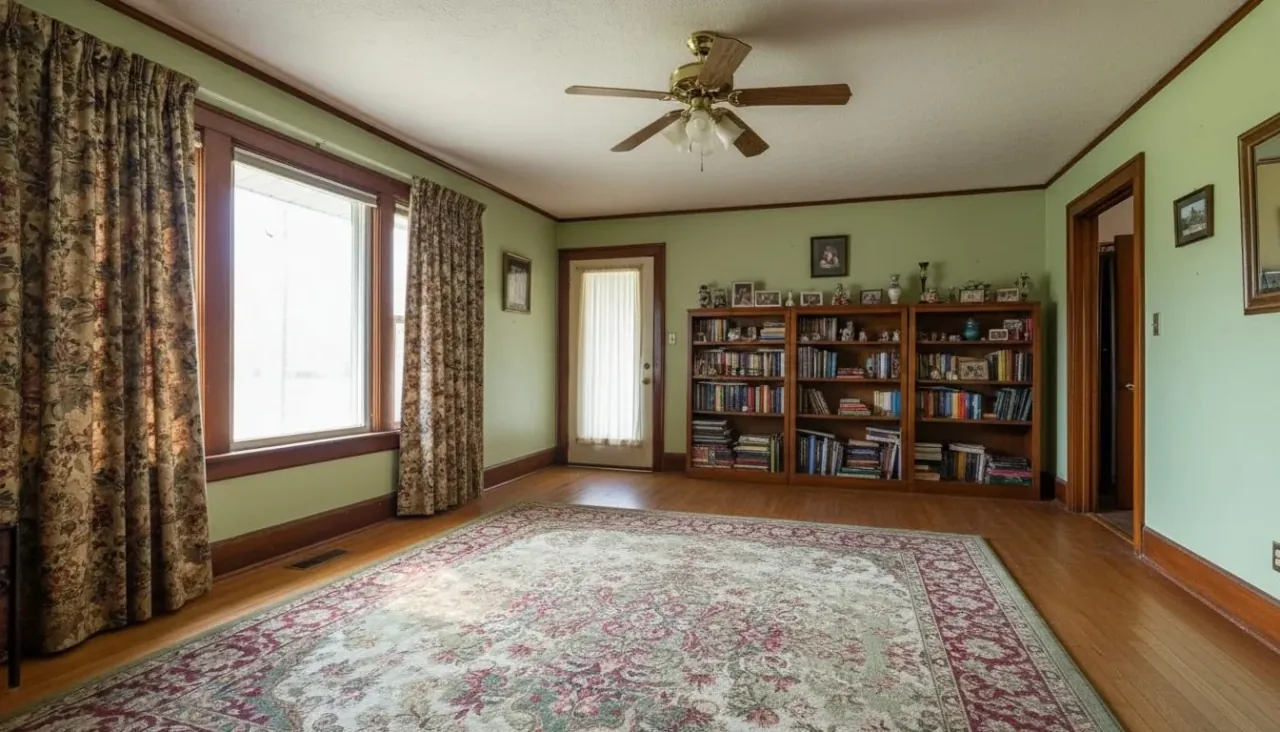
One object
everything else is left alone
Keeps the good bits
no re-rolling a result you mostly liked
30 seconds
per edit
The most frustrating moment in any generative workflow is a result that is ninety percent right. Run it again and you lose the ninety percent along with the ten, because each generation is independent and nothing carries over. Editing a detail solves exactly this: you mark the object that is wrong, describe what should be there instead, and everything else in the image stays as it was. It is the difference between iterating towards something and rolling the dice repeatedly.
What this feature does
- Input
- A room image plus one marked object or area.
- What changes
- Removes or replaces only the selected region.
- What stays
- The unmarked image, including its composition, lighting, and surrounding design.
- Use another feature when
- Use Furniture Removal when a broad category should be cleared across the room.
Why regenerating loses what you liked
Each generation is an independent event. There is no memory of the previous result and no mechanism for keeping the parts of it you approved, so running the same prompt twice gives you two different rooms rather than a refinement of the first. This surprises people who expect the model to behave like a designer receiving feedback, and it is the source of most wasted credits: someone gets a good result with one flaw, asks again, gets a different result with a different flaw, and repeats until the pack is gone.
A targeted edit changes the arithmetic entirely, because it works on the existing image rather than producing a new one. The area you did not mark is not regenerated, so it cannot drift. That turns a random process into an incremental one, which is what people wanted from the beginning.
The practical consequence is a change in workflow. Rather than trying to write a prompt so complete that the first result is perfect, you aim for a first result that is broadly right and then fix its specific faults. That is both cheaper and far more likely to converge, and it matches how design actually proceeds.
Editing a detail, or decluttering?
Both remove things, and the difference is breadth. Declutter clears generally: excess furniture, surface mess, visual noise, everything that makes a room read busy. Editing a detail touches precisely what you mark and nothing else. If a room reads cluttered overall, Declutter is the right instrument and marking twenty objects individually is a waste of an afternoon.
The reverse case is where this feature earns its place. One ugly radiator on an otherwise good wall, a single chair that came out malformed, a bin in the corner of a listing photo: these are single-object problems, and running a broad clear on them risks removing furniture you wanted to keep. Marking the one object gives you a guarantee about everything else in the frame.
They also compose in sequence. Declutter to clear a busy room, restyle the cleared version, then edit the one detail the restyle got wrong. Each pass costs a credit and each one is checkable on its own, which is considerably more reliable than attempting all three intentions in a single elaborate prompt.
What makes an edit succeed or fail
The size of the marked area is the main variable. A small, well-defined object surrounded by simple background is close to a solved problem: the model has plenty of surrounding context to blend into and little to invent. A large object spanning several surfaces, or one whose edges are ambiguous, gives it more to reconstruct and more opportunity for the seam to show.
What sits behind the object matters as much as the object itself. Removing a lamp from in front of a plain wall means continuing a plain wall, which is easy. Removing a lamp from in front of a patterned wallpaper, a window frame, and the edge of a bookcase means reconstructing three different things and keeping their alignment, which is not. Where you have a choice, mark objects that sit against simple backgrounds.
Reflections are the classic trap, and they apply here exactly as they do to broader removal. An object you edit out may persist in a mirror, a window, a television screen, or a polished surface, because the reflection is a separate region of the image from the object. Check reflective surfaces before you use the result for anything. The same goes for shadows: a heavy shadow cast by a removed object sometimes survives it.
Describing what should be there instead
Removing something needs no description. Replacing it does, and that is where most disappointing edits come from. The instruction has to name an object rather than a quality: something nicer gives the model nothing to work with, while a low walnut coffee table with a rounded edge names a form, a material, and a detail, and the marked area comes back with that in it. The rule is the same one that governs prompts everywhere on the site, and it bites harder here because the target is a single object.
The replacement also has to suit the space it is going into, because nothing around it is being regenerated. Asking for a piece substantially larger than the area you marked gives the model a choice between squeezing it and spilling outside the mask, and neither looks right. Leave the lighting alone as well. The surrounding room already establishes where the light comes from, and describing light in the replacement is how you get an object that reads as pasted in.
Two smaller habits save a lot of credits. Brand names are not generated anywhere on the platform, so describe the piece rather than naming its maker, which in practice gets you close to the same thing. And edit one object per pass. Marking a chair and a rug together and describing both puts two instructions into one ambiguous area, which is exactly the ambiguity this feature exists to remove.
Try it yourself. First 3 designs free with Google · No credit card
Edit a detailWhy edit one detail works
Iterate instead of re-rolling
Regenerating a whole room to fix one chair is how people burn through credits. A targeted edit keeps what already worked.
Rescue a nearly-right render
The ninety-percent result is the most common outcome and the most wasteful to discard. This is how you finish it.
Remove one thing precisely
When Declutter would clear too much, marking a single object removes exactly that object and nothing else.
Swap a piece for a client
A client who likes everything but the coffee table can have the coffee table changed, rather than a whole new scheme to react to.
Works on your own photos too
It is not limited to generated images. Mark an object in a photograph of a real room and replace or remove it.
The last step in a sequence
Restyle to set the direction, then edit the one or two details that came out wrong, then upscale the version you are keeping.
How it works
- 1
Start from the image you nearly like
A generated render or a photo of a real room, whichever has the problem.
- 2
Mark the object
Point at what should change. The tighter the area, the more of the rest of the image is guaranteed to survive.
- 3
Describe the replacement
Say what should be there instead, or ask for it to be removed entirely.
Related tools
Go deeper
Frequently asked questions
Ready to try it on a real room?
Edit a detail