Feature
Last updated
Turn a hand sketch into a photorealistic render
AI Room Styler is a sketch to interior design tool. Upload a hand-drawn room sketch, choose a style, and get a photorealistic render in real materials and light that follows your composition. A SketchUp or Revit screen grab works as well as a hand drawing.
Draw the room, then let the AI bring it up in real materials and light. It is instructed to follow your composition and camera angle, and you should verify both in the result.
Render a sketchFirst 3 designs free with Google · No credit card
From $9.99 for 20 designs · No subscription
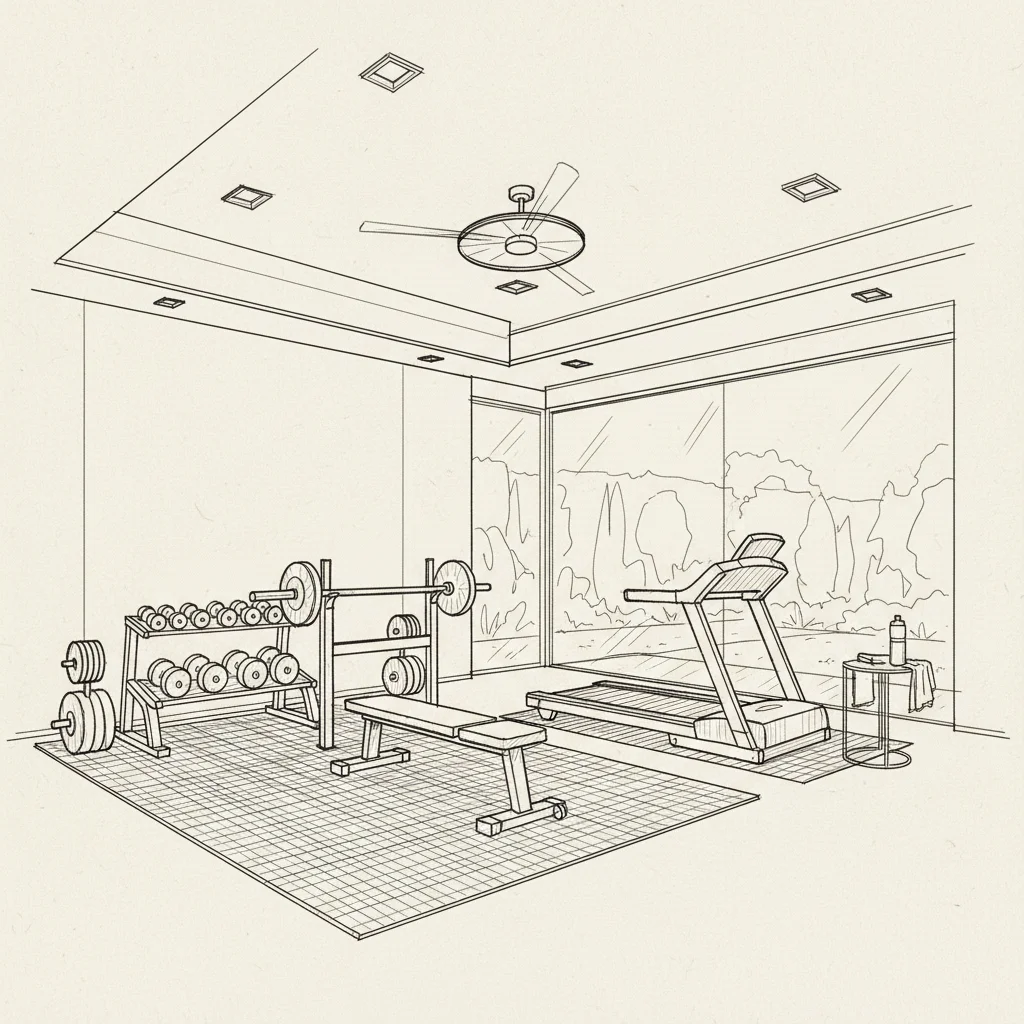
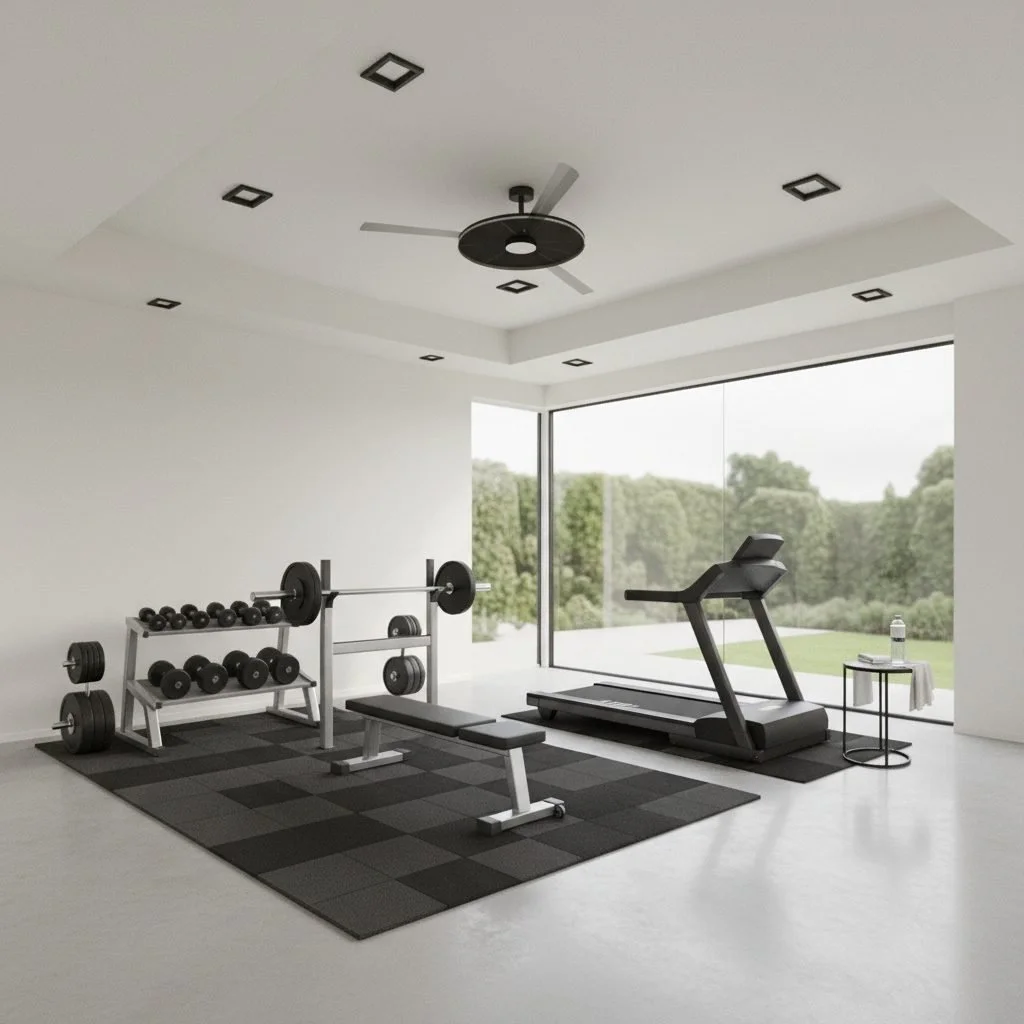
Minutes
from drawing to client-ready render
Your composition
camera angle and geometry preserved
No plugin
no modeling, no export, no seat
Getting from a concept sketch to something a client can react to is the slowest stretch of a project. The traditional route is to model the room, apply materials, set up lighting, and wait on a render, which is hours of work for a direction the client may not even choose. Sketch to render goes straight from the drawing. It reads the lines you put down as geometry and aims to retain the perspective and placement of every wall and window while resolving the scene in photoreal materials and light. There is no model to build, no plugin to install, and no export step. It works from a hand drawing, a marker perspective, or a screen grab out of your modeling software.
What this feature does
- Input
- A perspective sketch, line drawing, or untextured model view.
- What changes
- Adds photorealistic materials, textures, depth, shadows, and lighting.
- What stays
- The drawn composition, camera angle, walls, openings, and object placement as closely as the input allows.
- Use another feature when
- Use 3D software when dimensions, specifications, repeatable cameras, or construction documents matter.
How to judge a sketch render
- The camera angle and main perspective still follow the drawing.
- Walls, windows, doors, and major objects remain in their drawn positions.
- No important opening or object has been invented or removed.
- Materials and light make a coherent proposal without hiding the geometry.
- The image is used for concept approval, not as a dimensioned specification.
Sketch to render vs 3D rendering software for interior design
Interior design 3D rendering normally means building the room before you can see it: model the walls, place the openings, apply materials, set lights, then wait on a render. The output is exact, repeatable, and worth the effort when the drawing has to be right. The cost is that the first image arrives after the modelling, which is hours you spend before the client has said whether they even like the direction.
Sketch to render starts from the drawing you already made. It reads the composition, the camera angle, and the walls and openings as you drew them, then resolves the scene in real materials and light. There is nothing to model and nothing to install, and the first image arrives in minutes rather than after a build.
The trade is control. A modelled scene lets you specify that a worktop is 900mm and a pendant hangs 700mm above it. A render from a sketch gives you a scene that reads correctly rather than one that measures correctly. For a concept conversation that is usually the right trade, and for a construction drawing it never is.
When rendering software is still the right tool
Reach for your existing pipeline when the deliverable carries dimensions: elevations, sections, joinery drawings, or a specification schedule. Reach for it when a client is signing off on final fixtures and the render has to show the specified product rather than something that looks like it. Reach for it for a walkthrough or a camera path, which needs a model by definition.
Sketch to render is not trying to replace that stage. It is trying to remove the modelling from the stage before it, where the question is still which direction to take and the answer is worth minutes rather than an afternoon.
Is there free interior design rendering?
There are free 3D rendering tools, and they are genuinely useful if you are willing to learn a modelling interface and accept the render times that come with a free tier. What they ask for is time: the room still has to be built before it can be rendered.
What is free here is three free designs on a Google sign-in, at full resolution, with the same commercial licence as a paid one. That is enough to run your own sketch through and judge the output before deciding anything. It is not a free tier, and it is not a modelling tool.
What makes a sketch work as input
Neatness matters far less than consistency. The model is reading geometry out of your lines, so what it needs is a drawing that agrees with itself: one viewpoint, edges receding to a vanishing point that stays put, and the floor meeting the walls where the perspective says it should. A rough drawing with sound perspective renders well. A carefully finished one where the left wall recedes to one point and the right wall to another gives the model contradictory instructions about where the camera stands, and it will resolve that contradiction somewhere you did not choose.
Close your planes and label the ambiguity. A wall that stops in mid-air leaves the extent of the room genuinely undecided, so carry the line down to the floor even roughly. Then consider what an untitled rectangle on a wall could be: a window, a mirror, a television, a painting, or a doorway are all rectangles, and the model has to pick. Draw a sill and glazing bars, or simply write the word on it. Written annotations on the drawing are read and are the cheapest precision available anywhere in this process. The same goes for a block on the floor that could be an ottoman or a coffee table.
Leave out the rendering you were going to do by hand. Heavy hatching and shading get interpreted as material and shadow rather than as your indication of form, so a wall you shaded to suggest depth can come back looking like dark paint. Keep line weight doing structural work and let the model supply the tone. When you photograph the drawing, shoot it flat and evenly lit with your own shadow off the page, since a curled page photographed at an angle warps the perspective you were careful to get right. A hidden-line screen grab from SketchUp or Revit, untextured, is an excellent input for the same reason: it is all geometry and no noise.
Floor plan to 3D
A floor plan works as input too, the kind an architect or a builder hands over, photographed or exported as an image. Upload it, say it is a floor plan, and pick one of two views. Name a room as it is labelled on the plan, in any language, and you get an eye-level photo from inside it, with the doors, windows, stairs, and kitchen or bathroom fittings where the plan draws them. Or ask for the whole floor and you get a 3D cutaway seen from above: no ceiling, walls cut at waist height, every room visible at once and furnished for the use its label names.
Both views are read from the drawing, not measured from it, so they are pictures of the plan rather than scale renders, and nothing in them should be used to order furniture or check clearances. The whole-floor view asks the most of the model and is the one to check most carefully: on a busy plan it can draw a staircase twice, or build a wall where the plan only draws a dashed beam line. A plan with clean lines, room labels, and the title block and notes cropped off gives it the least to misread. When one room matters, render it on its own, since the eye-level view follows the plan more closely.
Try it yourself. First 3 designs free with Google · No credit card
Render a sketchWhy sketch to render works
The drawing remains the reference
The render is instructed to retain the walls, windows, object placement, and camera angle you drew. Verify those constraints before presenting the render.
Skip the modeling step
No geometry to build and no materials to assign. The sketch is the input, so a concept can be presentable the same afternoon you draw it.
Works from whatever you have
A pencil sketch, a marker perspective, a napkin drawing, or a flat screen grab from your modeling software all work as a starting point.
Test directions before committing
Render the same sketch in several material and lighting treatments, then take the strongest one into the client meeting.
Client-ready, not concept-ready
A photoreal render reads as a real room to a client. Line drawings ask them to imagine, which is where approvals stall.
Yours to bill
Use the output in paid client work, whether the design came from your free generations or from credits you purchased, with no attribution. Review each render before you present it, as you would any visual.
How it works
- 1
Upload the sketch
Photograph or scan the drawing, or export a flat view from your modeling software. Clean, confident lines read best.
- 2
Describe the materials
Say what the room is made of and how it should be lit, or pick a style and let the AI choose a coherent palette.
- 3
Render and refine
Get a photoreal version in minutes, then adjust the materials or lighting and run it again.
Related tools
Go deeper
Frequently asked questions
Ready to try it on a real room?
Render a sketch